LightLifter: Automating the Raising and Lowering of Grow Lights
Introduction
With hydroponics, you can’t easily adjust plant height relative to the lights, so most growers rely on ratchet-pulleys to move their grow lights up and down. If you have multiple lights, this process can be time-consuming—especially in tight spaces. In this article, I’ll show you how to build a motorized LightLifter that can easily handle up to 250 lbs. of equipment. By automating this aspect, you’ll save hours during each grow cycle and can make frequent, precise adjustments that ensure consistent, high-quality harvests.
I personally use the LightLifter to raise and lower HID and LED grow lamps, cooling ductwork, T5 UVB fluorescent lights, environmental sensors (ECS), power strips, electric cords, and even a couple of 6″ oscillating fans. Below is the essential materials list and step-by-step instructions on how to assemble it, for about $400.
The Benefits of a LightLifter
A motorized LightLifter helps you raise or lower lights, ductwork, fans, and sensors with the push of a button. By attaching these components to a single platform, you eliminate the need to adjust each item manually.
Saves Time No more wrestling with ratchet-pulleys for each light, fan, or duct.
Streamlines Adjustments Everything moves together, keeping your lighting and airflow aligned.
Improves Organization Manages electrical cords, ductwork, and sensors neatly on one platform.
Prevents Errors Maintains consistent distance to the canopy level—no guesswork.
Building Your Own LightLifter
Always verify your ceiling or attic structure (and/or wall studs) can safely support the total load. If in doubt, consult a professional.
Materials List
Qty
Name of Material
Description
Approx. Price
Link
2–6
White Steel Closet Rod(1¼″ × 6 ft)
Primary platform material; cut smaller pieces to size with a hacksaw.
Note: You’ll cut the White Closet Rods to your desired lengths using a standard hacksaw (or power saw if you prefer). The number of pipes (2 or 6) depends on how large and sturdy you want your platform.
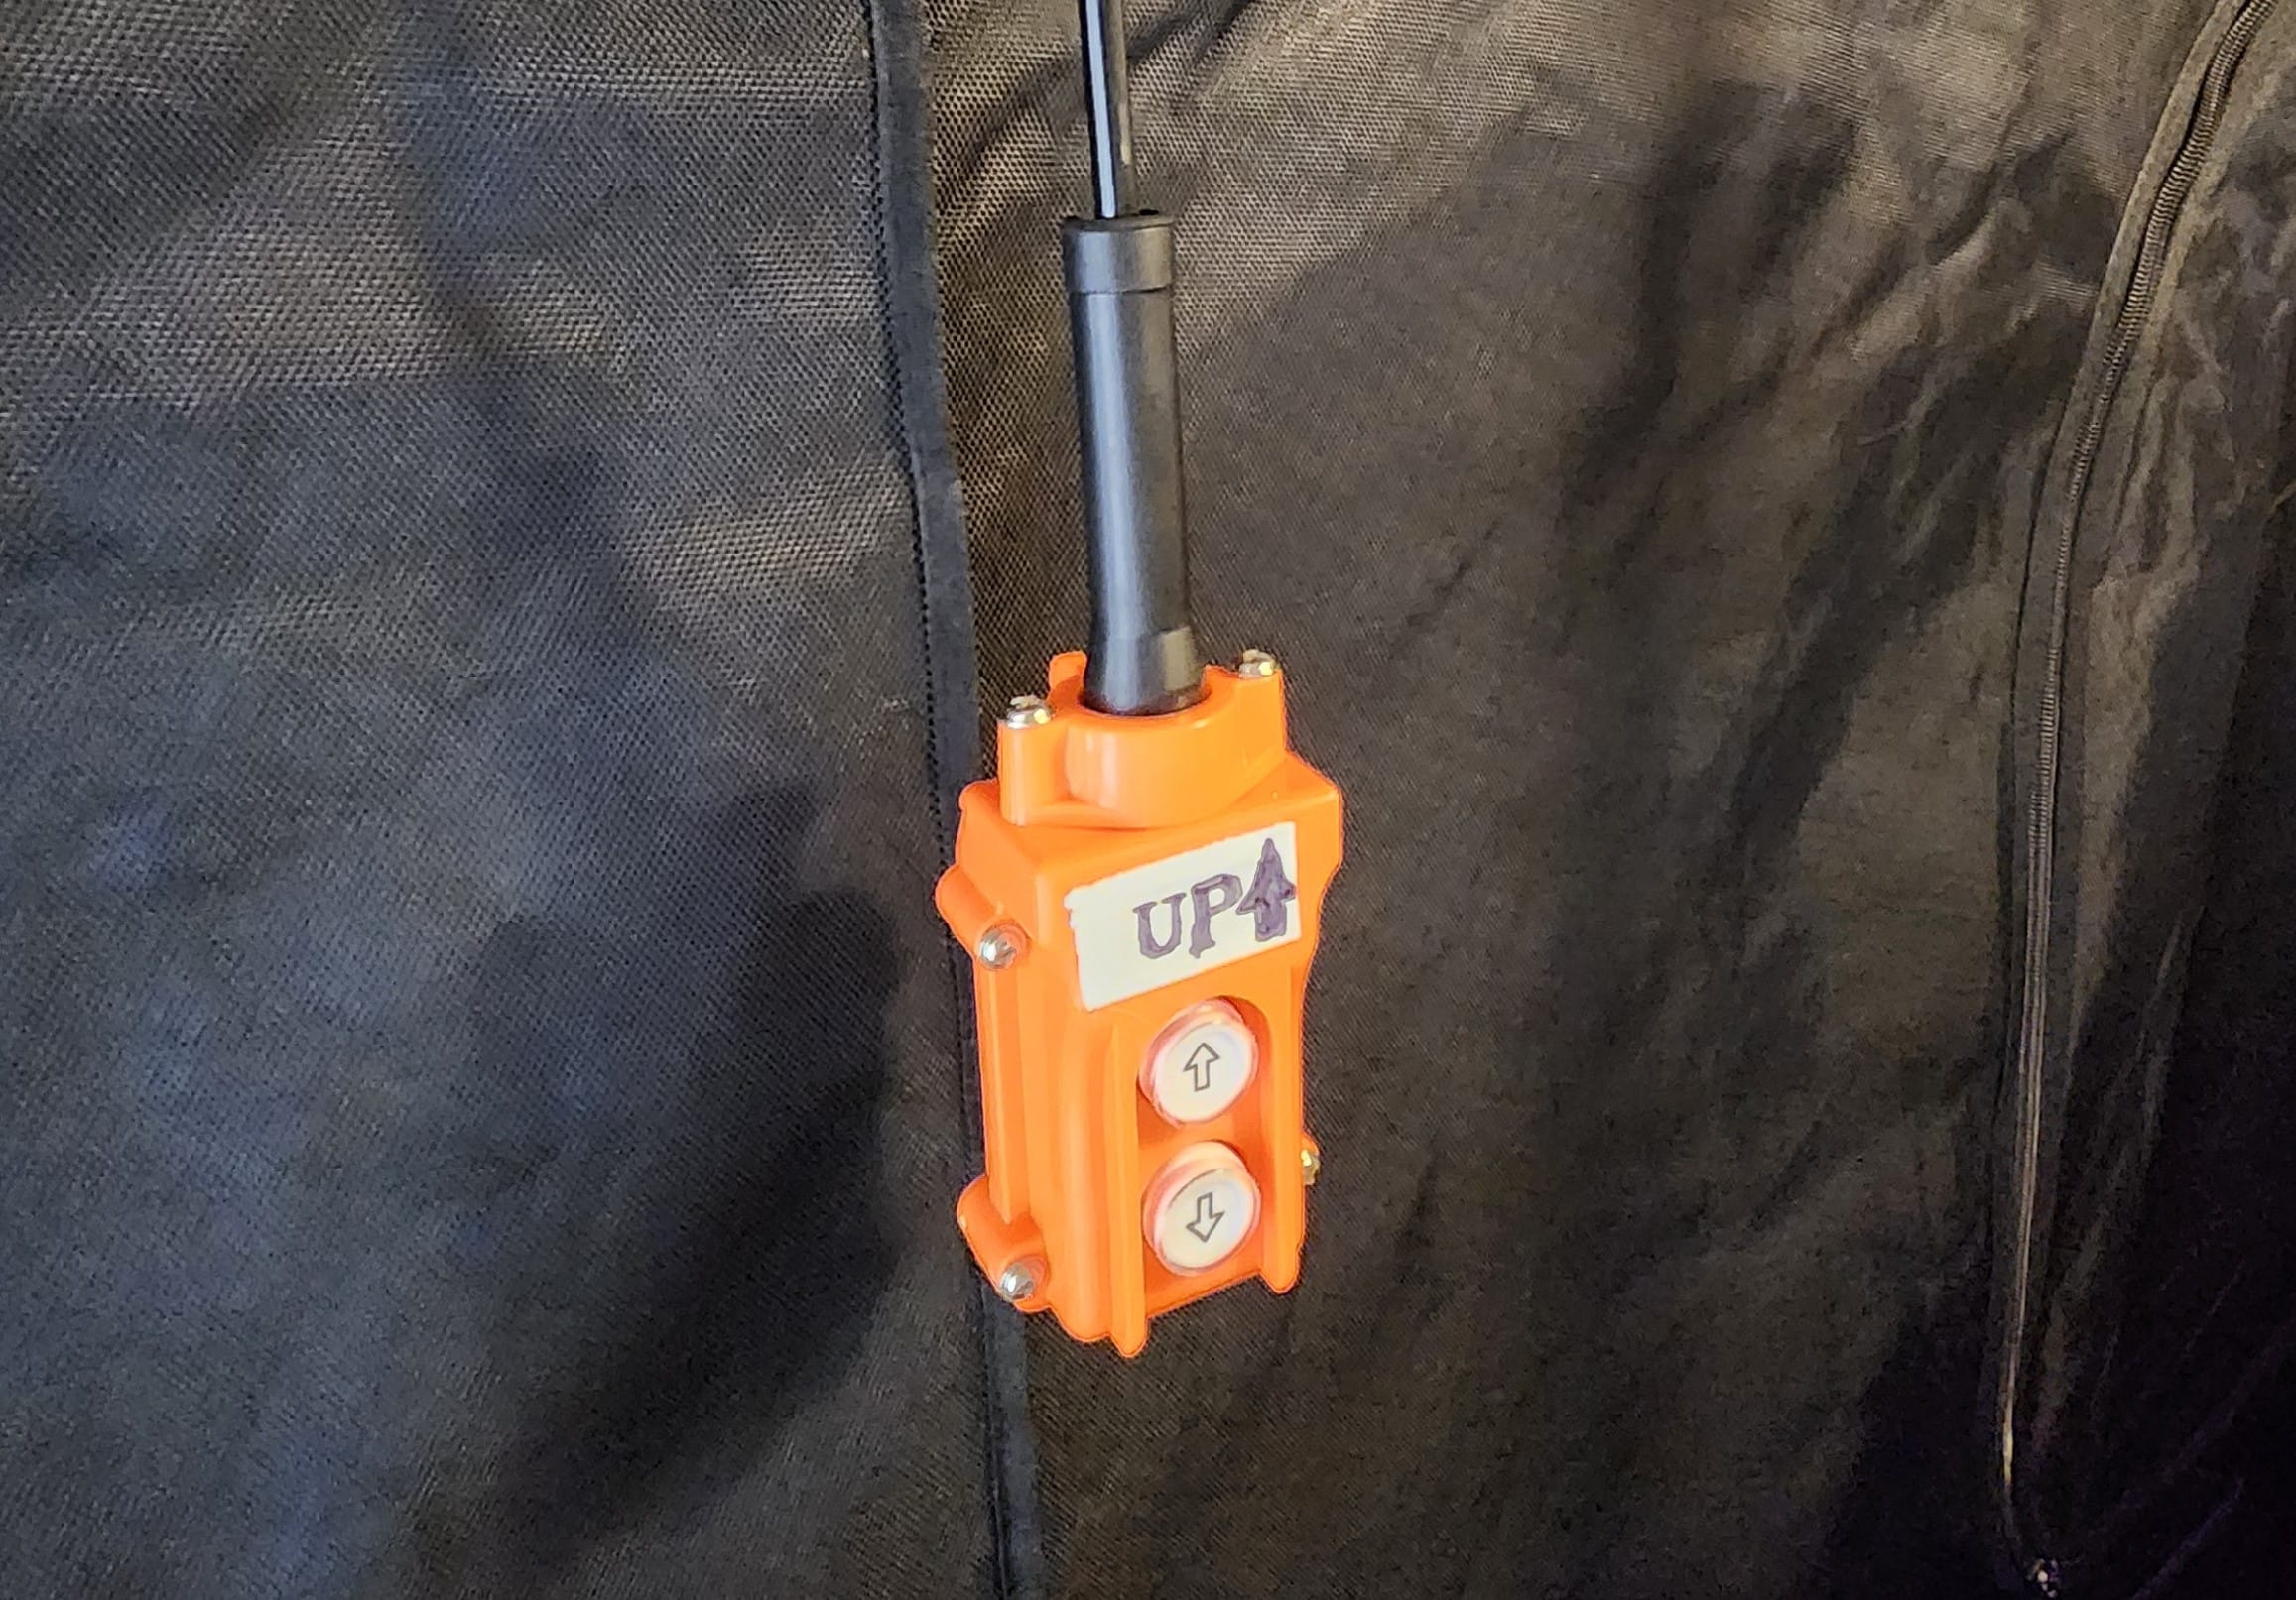
What Is a Limit Switch?
A limit switch shuts off the hoist motor when the platform reaches a preset height. It prevents overextension into the ceiling or damaging your grow lights.
Lessons from Experience
My first LightLifter attempt with bicycle theft cable and improper crimps ended in a broken cable and shattered bulbs. Proper 1/8-inch steel cable, heavy-duty clamps, and a robust hoist avoided any repeat disasters.
Step-by-Step Assembly
1. Prepare the Platform
Add steel pipes to strengthen the bed frame for a heavier load.
Gather Your Pipes
You’ll need 2–6 pieces of 1¼″ × 6-foot Steel Closet Rods.
Cut Pipes to Size
Use a hacksaw (or other cutting tool) to cut any shorter pieces to the required length.
Common configuration: 2 pipes for the length, 2 pipes for cross-support (total of 4).
Assemble or Fasten
Use U-bolts sized for 1¼″ pipe to join the pipes to the bed frame.
Temporarily set the platform about one inch below the ceiling using ratches ropes.
2. Install Wood Mounts for Pulleys
You’ll need to mount your pulleys securely to either the ceiling joists or wall studs. Mounting the pulleys securely to a 2×6 and using 4″ screws to secure the 2×6 to the ceiling joists or wall studs.
Expect 4 corner pulleys, plus 1–2 additional pulleys to guide or combine cables before reaching the hoist placed either in the attic or the room itself.
A. Ceiling Joist Mounts
Cut a 2×6 Board
Cut enough pieces from your 16-ft board to span at least two joists (16″ on-center is common).
Attach the Pulleys
Drill pilot holes in the 2×6 for 3/8″ bolts.
Fasten each pulley to the 2×6 with 4 bolts, washers, and nuts.
Secure the 2×6
Use 4″ heavy-duty structural screws to attach 2×6 to joists, about 4 per joist.
B. Wall Stud Mounts (If Needed)
Cut a 2×6
Span at least two wall studs.
Attach the Pulleys
Same method: 4 bolts, washers, nuts.
Secure the 2×6
Fasten with 4″ structural screws (4 per stud).
Attic Space Constraints
If your attic is too small or you are on a lower floor, run cables back down to the rooms floor and place a pulley on the wall near the floor using a 2×6 mounted to the studs. Hang the winch from the ceiling of your grow room and pull the cable up from the floor pulley.
3. Install the Cables
Attach Cables to Platform
Attach the 4 steel cables around the steel closet rods and bed frame using cable clamps.
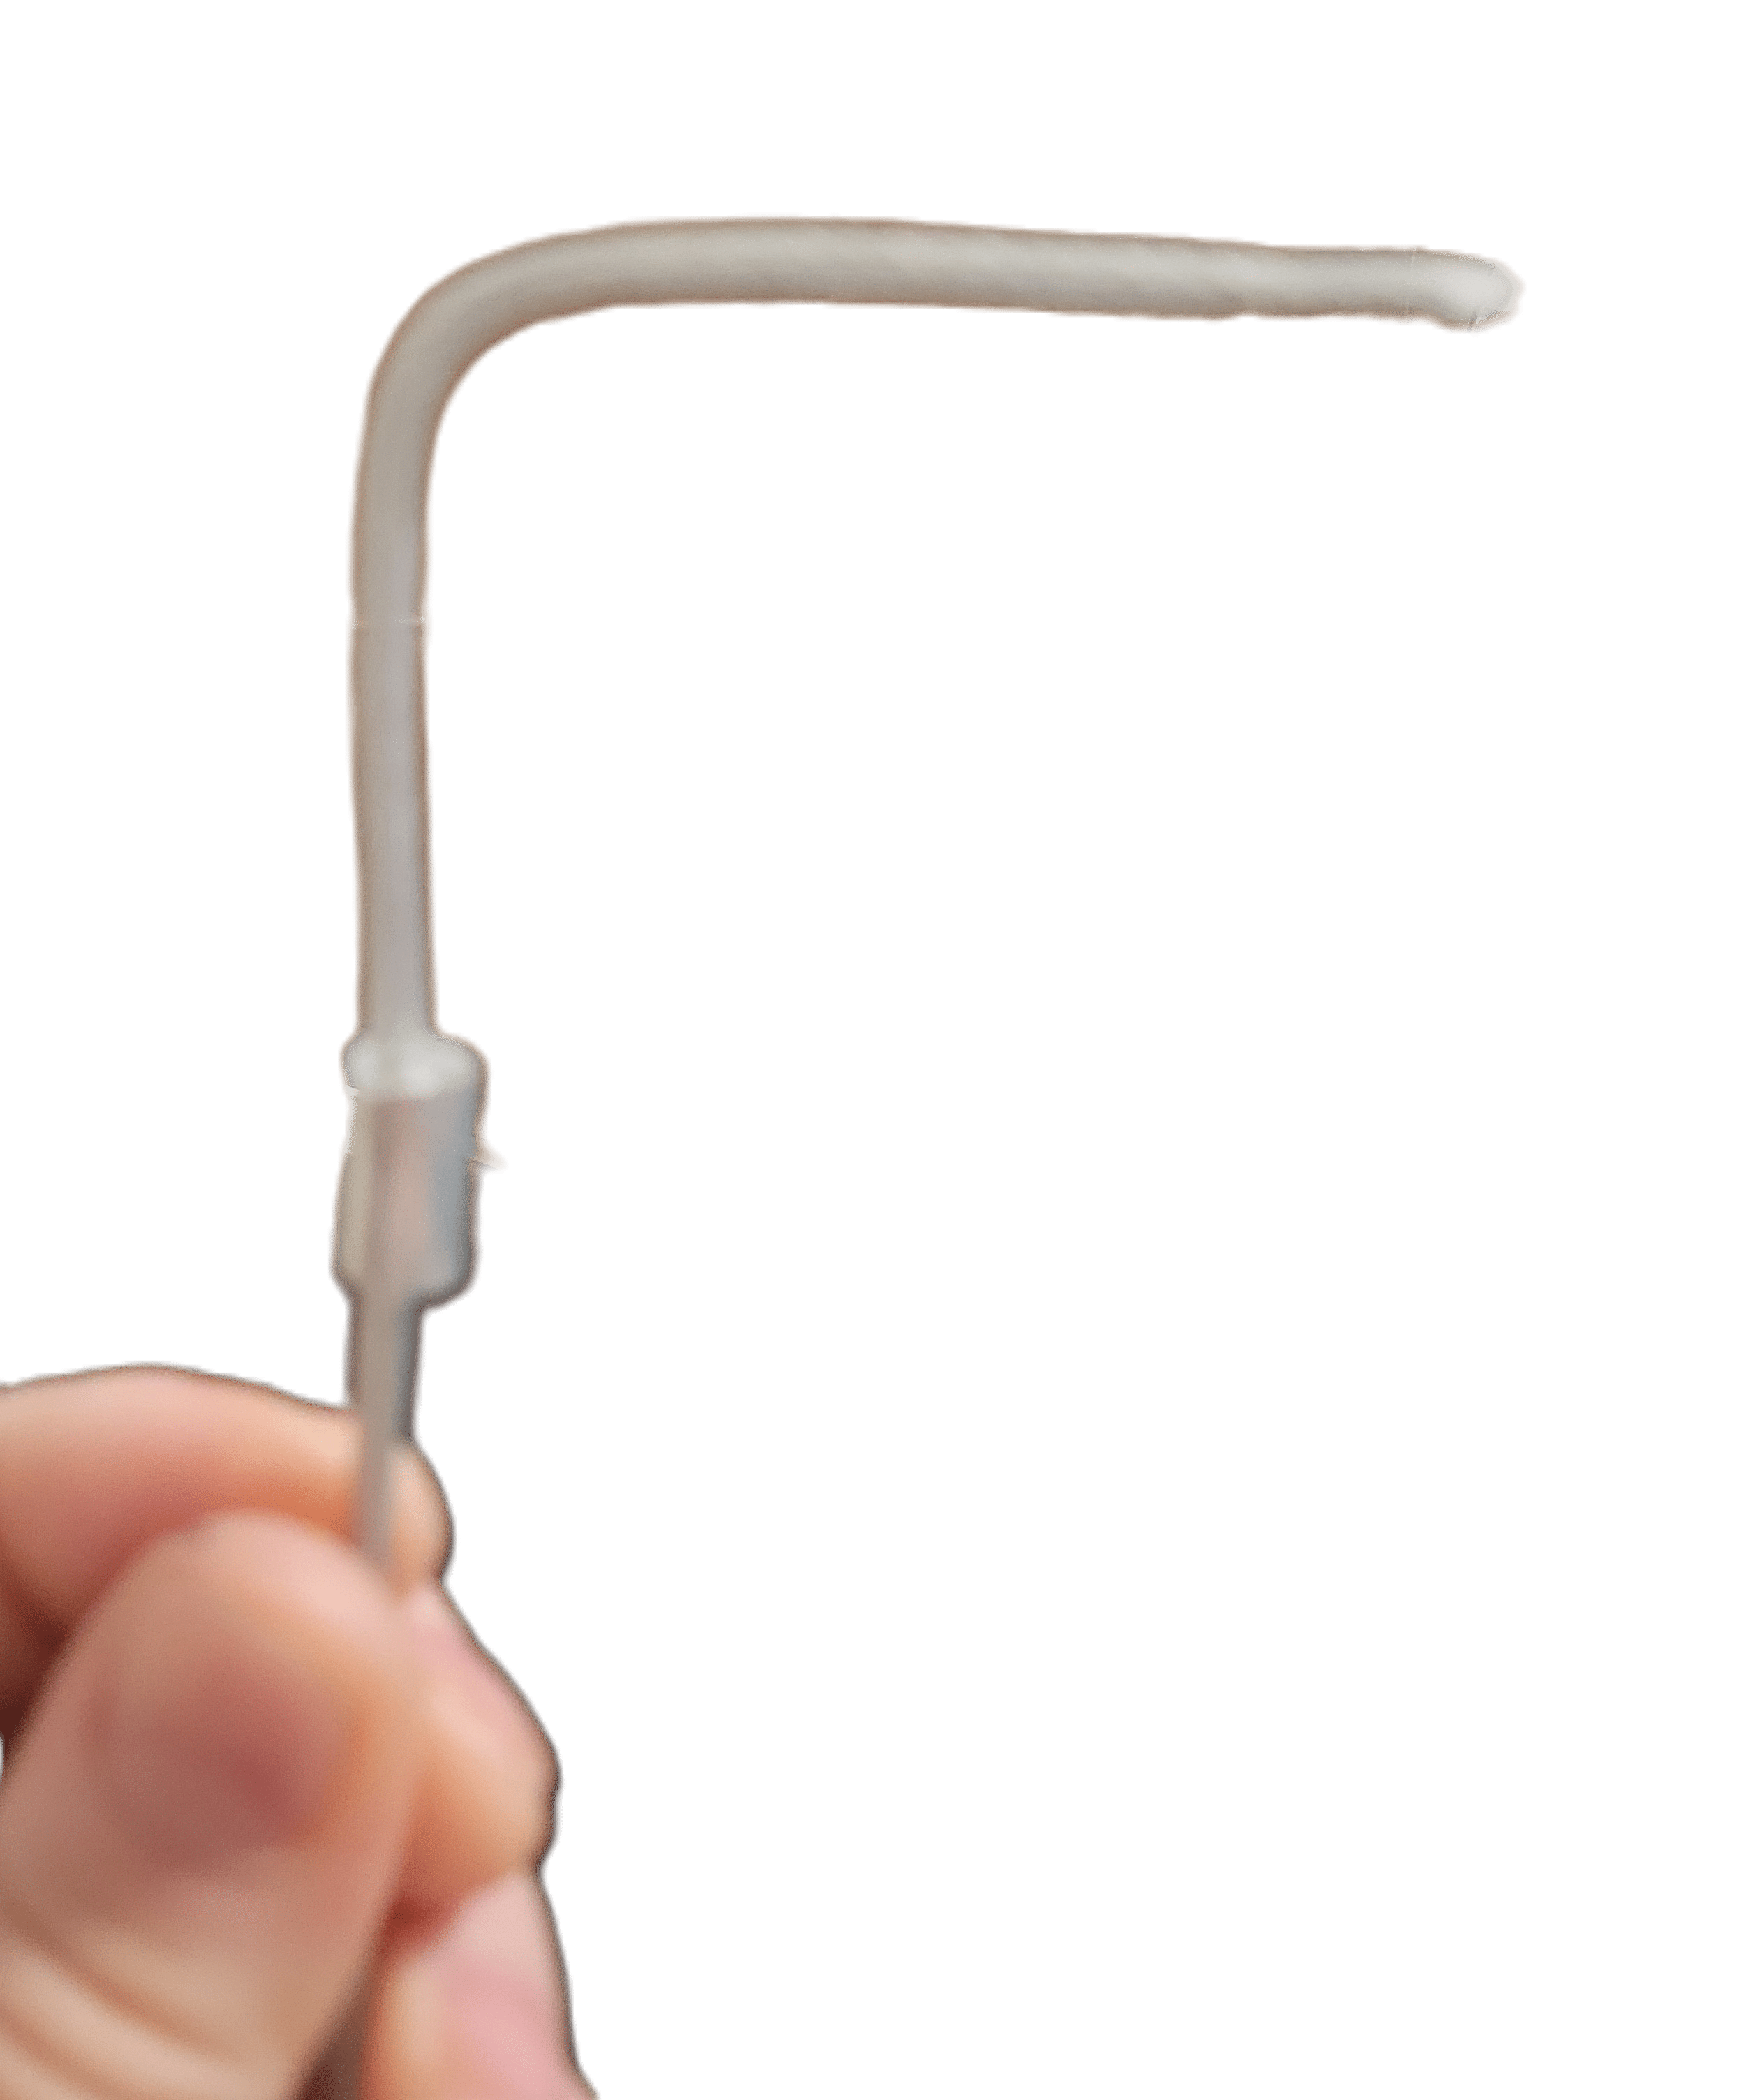
Cable Loops & Clamps
Form a loop with a steel cable thimble for the other end that connects to the carabiner. and secure with 2 cable clamps for each cable of the four corners of the platform.
Route Upward
Thread cables through the ceiling or along ceiling to your four pulley mounts and then to the carabiner.
Important: Cable Clamp Installation
First Clamp: 1.5″ from the thimble loop.
Second Clamp: 1–3″ away from the first clamp.
Third Clamp: In between.
Orientation: “Never saddle a dead horse”—the saddle goes on the load-bearing side.
Torque: 4–6 ft-lbs. for 1/8″ cable. Retighten after initial load.
4. Set Up the Pulleys
Individual Corner Pulleys
Each cable passes over its own pulley.
Combine & Converge
Bring the 4 cables together with a carabiner or O-ring, where they become a single 1/8″ steel cable heading to the hoist.
5. Mount the Hoist
Location
Install the VIVOHOME 440 lb. Hoist in your attic or on the ceiling of your room mounting it to a 2×6 spanning at least two joists and securely attached to the joists with six 4″ structural screws per joist.
Bring the hook for the hoist all the way up so it is in a stopped position. Ensure the platform is about one inch below the ceiling so that this is the max height once all cabling is in place and clamps are tightened down.
Attach Cable
Run a single cable from the carabiner to one or two pulleys and then to the hoist drum.
6. Test the System
Trial Lift
Before raising expensive lights, test with a lightweight mock load and run for a couple days to ensure everything is stable.
7. Organize Electrical Cords
Run cables together in one conduit using zip ties with enough play for the platform to be raised up completely. Do not run individual cables to the platform.
Engage the hoist limit switch and confirm it stops at the correct height.
Mount sensors near canopy level for accurate readings.
Why Build Your Own LightLifter?
Though it takes some planning and a day’s work, a well-built LightLifter can be assembled in a few hours for about $400 if buying everything new: